Hello ConvenienceBigs,
In today's email, I'm going to share one of my photography super secrets with you.
A secret about how to turn ordinary images into surreal painting-like scenes.
It's you very rarely see other folks using.
This technique is a great way to change otherwise ordinary photos into something really special that will wow your friends and followers.
The best part is that everything I'm going to share with you is entirely achievable using free products!
Let me give you a couple of examples to start off with.
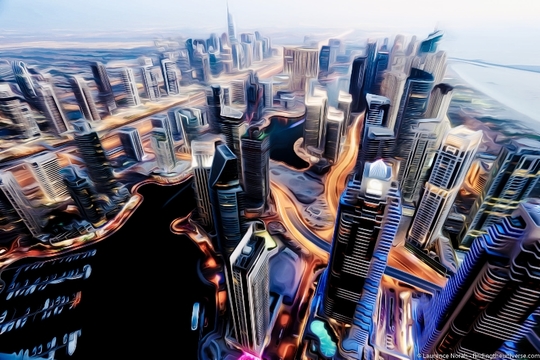
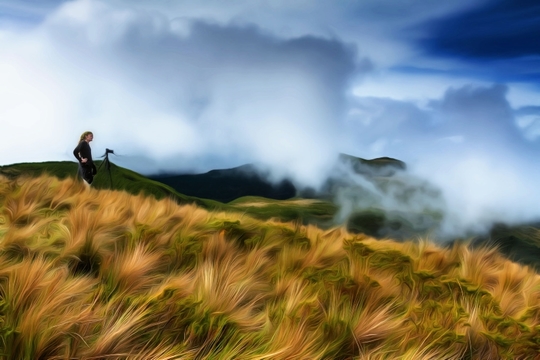
This is a filter called "dream smoothing," and I'm going to walk you through the creation of the first picture of the Dubai skyline.
For this technique to work well, you need images with clearly defined lines. The software identifies the lines in the image and creates that deliciously dreamy effect from those lines. So grasses, trees, buildings — all those sorts of things work well.
Let's talk about how I got that cityscape shot to start with. If you want to skip straight to the details, feel free to scroll on.
1. How I got the shot
One of the images I captured as we started to leave the golden hour and enter the blue hour — but before the lights faded entirely — was this one:
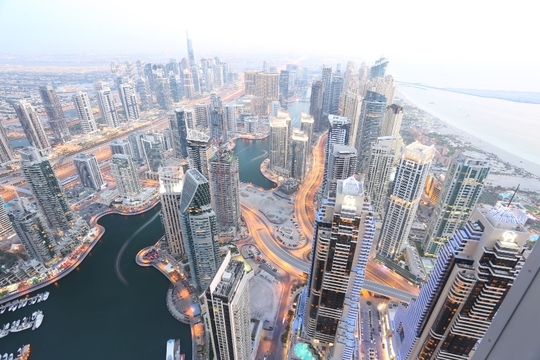
As you can see, this is an overexposed shot, which was part of a sequence I was doing for a possible high dynamic range composition.
Now, let's get down to how to turn that picture above into a magical dreamscape.
2. Software you'll need
You're going to need two things:
One, a copy of GIMP. (I know, it sounds weird, but there we are. Open-source software is a strange place sometimes.) GIMP is an insanely powerful open-source photo editor, somewhat equivalent to Photoshop; it is also, like Photoshop, rather complicated and difficult to master. Don't worry, we're going to avoid all the complicated stuff and just go straight to making the magic happen.
You are also going to need the G'MIC plugin. (Again, I have no idea who comes up with the names for these things.) You can download that here, in various flavors for various operating systems. If you're on Windows, it's just a case of downloading the installer and running it. You'll want to be sure the GIMP program is not running when you do this. If it is running, you'll want to restart it after installing G'MIC so it shows up in the filters menu.
3. Let's get to EDITING!
OK, so hopefully you are on top of this so far. To make this super easy for you, I have uploaded a larger version of the image I'll be demonstrating, which you can download here.
First, open up GIMP. If you've never used a photo-editing platform like this before, you'll probably be overwhelmed by boxes and menus and buttons.
To make it easier on you, go to the toolbar along the top, select "Windows," then ensure that the option "Single Window Mode" at the bottom is checked. This will make everything a tiny bit less confusing, or at least confusing all in one place.
Next, let's load up that image.
From the menu, select: File -> Open, then pick the image you want to work on, either the one I provided or one of your own.
In an ideal world, you now have a screen that looks something like this, although your interface might be a slightly different color:
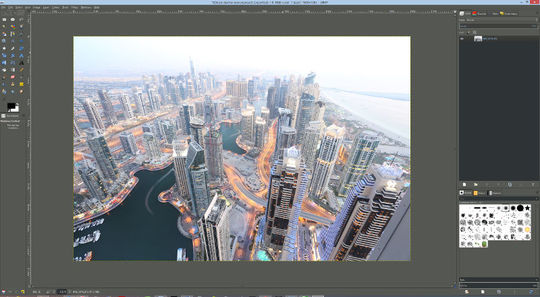
If so, well done. If not, back up and run through that last section again.
The next stage is the fun bit.
From the menu at the top, hit the "Filters" button.
Scroll down in this menu to find the G'MIC option, and press that.
A new, highly complicated window will appear that looks a bit like this:
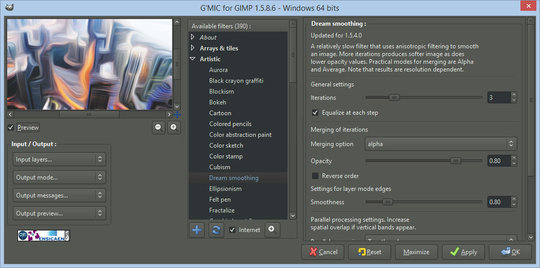
You can do some seriously fun stuff from this window, but for now we're going to focus on that Dream Smoothing plugin.
In the center pane, titled "Available filters," find the "Artistic" option and press that.
Scroll down until you find the "Dream Smoothing" option. Press that.
In the right-hand pane, a whole bunch of new options will appear. I'd advise ignoring these for now and just hit "OK."
A brief pause will now be required because this is a seriously processor-intensive task and will take some time. Time that can be measured in minutes rather than seconds. Just wait a bit. Go grab a coffee. Read about my awesome online photography course!
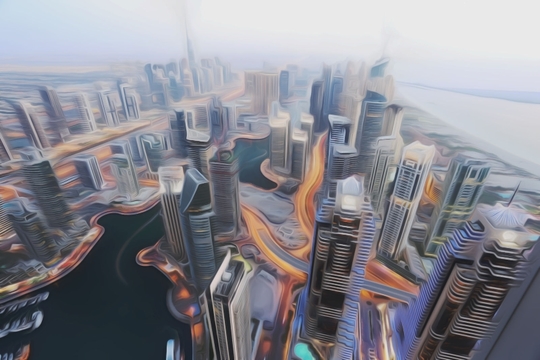
Once it's finished, you will be presented with a marvelously funky, all-smoothed-out picture!
4. Finishing touches
The observant among you will notice that this image doesn't have quite the impact and shiny punch of the version I shared with you at the beginning.
Fear not.
We are a couple of sliders away from magic.
You can do this in your favorite photo-editing app, or you can do this inside GIMP. Inside GIMP, you just need to bring up the colors menu and play around with the contrast and saturation.
Alternatively, fire it over to Lightroom or your editor of choice, and play around in an environment you recognize. To do that, you need to save the file.
To save the file, rather confusingly, you go to File, then press "Export As." (The Save button will save it in a GIMP format, unreadable by anything but GIMP. Yay for open source.) Give it a filename, select where you want to put it, and choose the file type. Press Export.
And shazam! We are done!
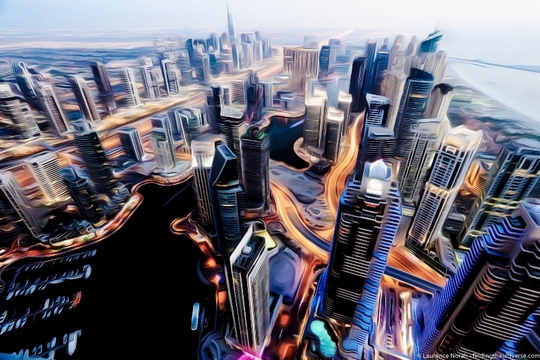
Like every editing tool, you'll find that some work well in some situations and don't work at all well in others. In time, you'll start to get a feel for what works well when.
As always, if you've got any feedback for me about this email, just hit reply and I'll get right back to you as soon as I can.
Sincerely,
Laurence
P.S. - If you're really looking to get into photography, I worked with Laurence to create a very in-depth, hands-on photography course (he even provides feedback on your pictures). It will help you get out of auto and master your camera - no matter what camera that may be! You can learn more about it by clicking here. You can get 10% off with the code "10off" when you check out too! :)
Unsubscribe | Update your profile | 407 W University Ave, Georgetown, Texas 78626

No comments:
Post a Comment